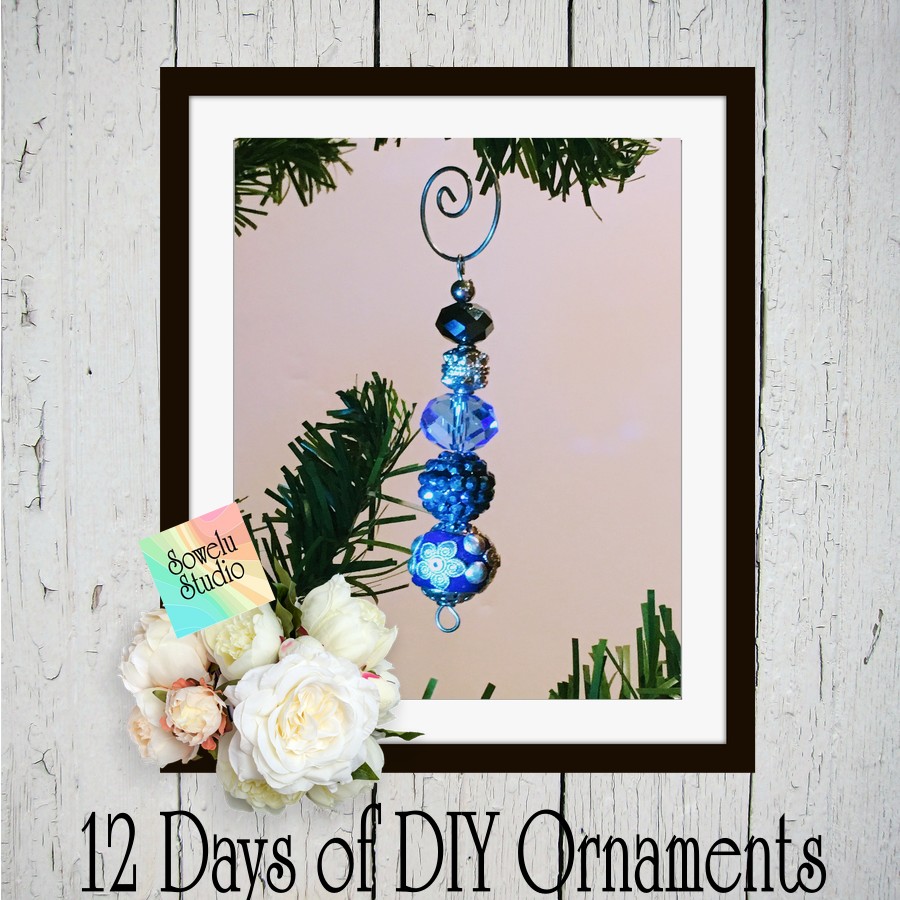
Isn’t this beaded ornament lovely? I’ve made an effort each year to make or acquire handmade ornaments in the hopes that someday, the tree would be filled with them. So far, I’ve fallen woefully short of this goal, though each year a bit of progress is made. I guess it’s one of those things that just shouldn’t be rushed into. (aka, That’s my excuse and I’m stickin’ to it!) Well, after a brief sit down chat with myself I decided to bring you The Twelve Days of DIY Christmas Ornament Extravaganza! Most of these delightful ideas were scoured from Pinterest, and I’ve spent a bit of time each day creating the ornaments. It’s been a lovely segue into the season and the spirit of the Christmas holiday. I hope you enjoy the series.
[Tweet “Make your own Beaded Ornament this Christmas! “]
Here’s what you’ll need to make this Beaded Ornament
- Assorted beads (I purchased a 7″ pre-strung length intended for a bracelet and got two ornaments out of it;-) Michael’s & Hobby Lobby generally carry these.
- Zebra Wire or equivalent colored wire in 20 gauge
- Round nose plyers
- Wire cutters
Follow these easy steps
- Lay out your beads in the order you want them to appear in the ornament.
- Estimate the length of wire you’ll need for the beads. Add 1/2″ at each end for making loops and cut with wire cutters.
- Using the round nose pliers, make a round loop at one end.
- String the beads on the wire.
- Once all the beads are strung, use the wire cutters to cut the length of the wire extending from the top of the beads to approximately 1/4 inch.
- Using the round nose pliers, make a loop at the top.
- Insert an ornament hook through the top loop, hang and enjoy!
Did you miss Day One of this series? You can find it here.
If you’ve enjoyed this tutorial~consider spreading the love and sharing with your friends!

Leave a Reply